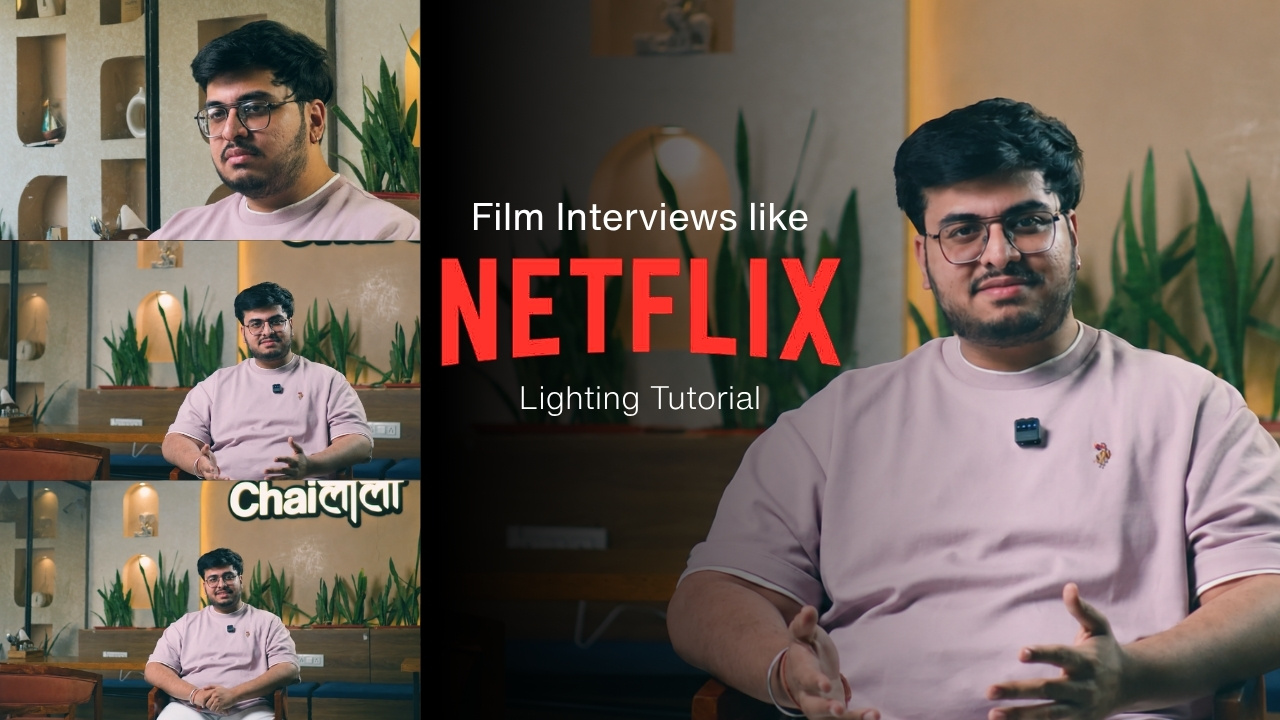
In the digital age, talking-head videos and brand interviews are everywhere. But there is a massive visual gulf between a flat, boring corporate video and a premium, high-production documentary-style look (think Netflix’s Drive to Survive or Chef's Table). The secret isn't a $50,000 cinema camera—it’s cinematic lighting and deliberate camera placement.
If you want to elevate your brand’s interviews, podcasts, or client testimonials, you don’t need an enterprise budget. In this guide, we will break down the exact steps to achieve a premium "Netflix-style" interview setup using accessible gear, smart light positioning, and multi-camera techniques.
1. The Core of Cinema: The 3-Point Lighting Formula
To get a dramatic, high-contrast look that separates your subject from the background, you must master 3-point lighting. Here is how to configure each light to create a cinematic mood:
A. The Key Light (The Star of the Show)
The Key Light is your primary light source. Instead of blasting it straight at your subject’s face, place it at a 45-degree angle relative to their nose. This creates beautiful shadows on the opposite side of their face, defining their facial structure—a classic cinematic technique known as Rembrandt lighting.
- The Modifier: Raw LED light is harsh and unflattering. You must soften it. Use a large Lantern Modifier or a Deep Umbrella Softbox. A lantern provides a soft, organic wrap-around light that mimics window light, making the subject’s skin look flawless.
- Budget Hack: You don't need expensive studio lights. Budget-friendly COB LED lights (like Digitek or Simpex 100W-200W models) paired with a generic lantern modifier will yield 95% of the quality of premium Hollywood lighting.
B. The Fill Light / Negative Fill (Controlling Contrast)
The Fill Light sits on the opposite side of the Key Light. Its job is to control how dark the shadows are. For a moody, cinematic, documentary-style look, less is more. Instead of active fill light, filmmakers often use Negative Fill (like a black foam board or a 5-in-1 reflector’s black side) to absorb bouncing light and make the shadow side deeper and more dramatic.
C. The Backlight / Hair Light (Adding Separation)
Without a backlight, your subject will blend into a dark background. Place a small, focused light behind the subject (out of the camera frame) pointing at the back of their head and shoulders. This creates a bright "rim" or "halo" effect around their hair and shoulders, cleanly separating them from the background and instantly giving the shot a high-end 3D depth.
2. The Multi-Camera Setup: Capturing Depth and Emotion
Single-camera interviews can quickly lose the viewer's attention. A professional setup uses at least two cameras to allow for dynamic cutting during editing.
A-Cam (The Master Wide/Medium Shot)
Your primary camera should capture the main angle from the chest up. Position this camera directly in front of the interviewer.
- Pro Tip: Use a fast prime lens (like a 30mm or 50mm f/1.4 or f/1.8) on an accessible mirrorless body (like the Canon EOS R50). Shooting at a wide aperture creates a gorgeous, creamy, out-of-focus background (shallow depth of field) that draws all attention to the subject’s eyes.
B-Cam (The Tight Angle / Profile)
Your secondary camera should be positioned at a 30- to 45-degree angle from the subject, framed closely on their profile or hands. This angle is crucial for capturing raw emotion and serves as an excellent cutaway to hide jump cuts during editing.
- Pro Tip: If you don't have a second mirrorless camera, use your smartphone (like an iPhone or Android flagship) on a tripod. Shoot in 4K with a cinematic profile, match the white balance to your A-Cam, and the footage will blend seamlessly in the edit!
3. Mastering Exposure with ND Filters
To get that highly coveted blurry background, you need to open your lens's aperture wide (e.g., f/1.4 or f/1.8). However, when you combine a wide aperture with powerful key lights, too much light enters the sensor, completely overexposing and blowing out your image.
The solution? Neutral Density (ND) Filters.
Think of an ND filter as sunglasses for your camera lens. By screwing a Variable ND Filter onto your lens, you can block out excess light without changing your camera settings. This allows you to shoot at a super-wide aperture under bright studio lights, maintaining absolute exposure control and that perfect shallow depth of field.
4. The Cinematic Setup Checklist
Before You Press Record:
- Match White Balance: Set all cameras to the exact same Kelvin value (e.g., 5600K for daylight) to avoid mismatched colors.
- Control the Eyeline: Have the subject look at the interviewer, who sits just a few inches to the left or right of the A-Cam lens. They should never look directly into the camera lens unless it’s a direct address.
- Audio is 50% of the Video: A cinematic shot is instantly ruined by hollow audio. Use a lavalier microphone clipped close to their chest or a shotgun mic boomed just out of frame above their head.
Scale Your Brand with Cinematic Video Production
Mastering the technicalities of lighting, camera angles, color grading, and audio synchronization takes years of practice and dedicated crew members. While doing it yourself is a fantastic way to learn, scaling your brand's digital presence requires a polished, broadcast-ready execution.
At Glidein Studios, we combine state-of-the-art cinematic production with data-driven performance marketing campaigns. Whether you need high-end corporate documentaries, testimonial campaigns, commercial showreels, or social-first content, our team handles everything from script to screen.
Ready to elevate your brand's storytelling? Let's connect and discuss your next project today!